How to Make 3 Different DIY Face Masks—No Sewing Machine Required
 Updated: Apr. 28, 2020
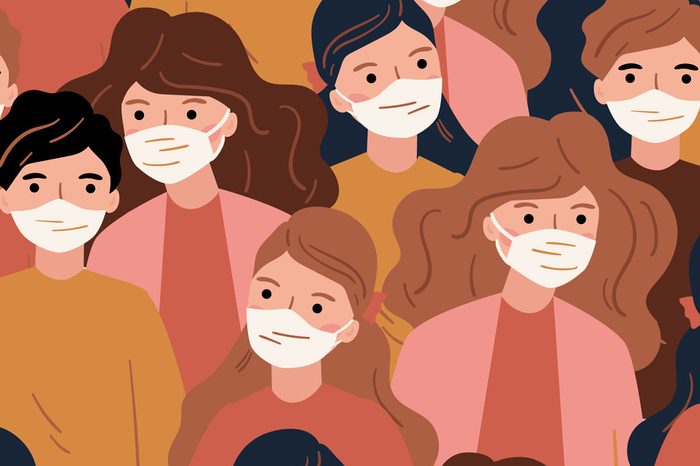
Cover your face with a mask made from a few common household items.
Make your own DIY face mask
Knowing how to make a reliable, comfortable mask out of things that are already laying around your home could come in handy, whether you’re diving into a dusty DIY project or looking for protection outside your home. Making these masks requires no tools (other than a pair of scissors) and no sewing kits. As long as you can fold fabric and have a little patience for trial and error, you can craft your own snugly-fitting masks in minutes with these three household items.
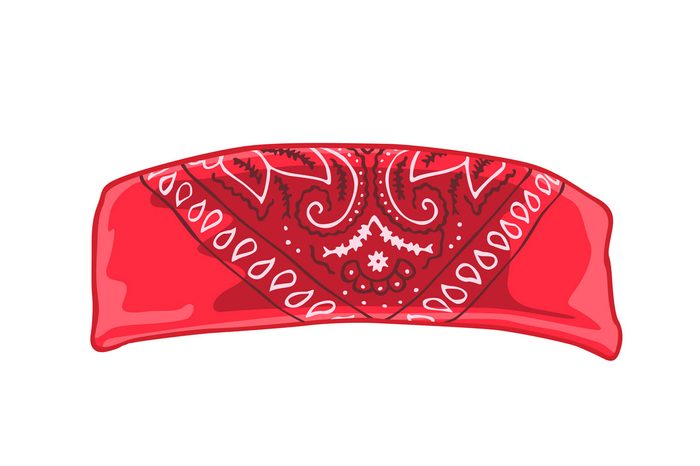
How to make a mask out of a bandana
Step one
Fold the bandana in half from the outside in.
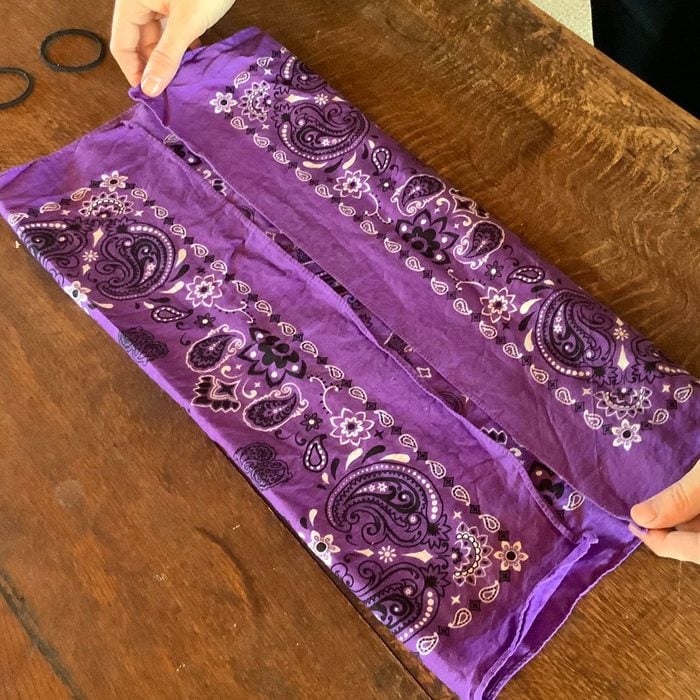
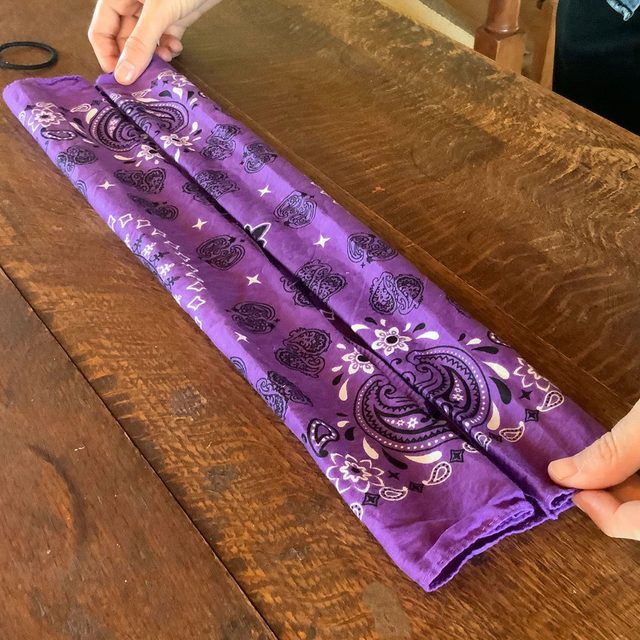
Step two
Fold each section in half again.
Step three
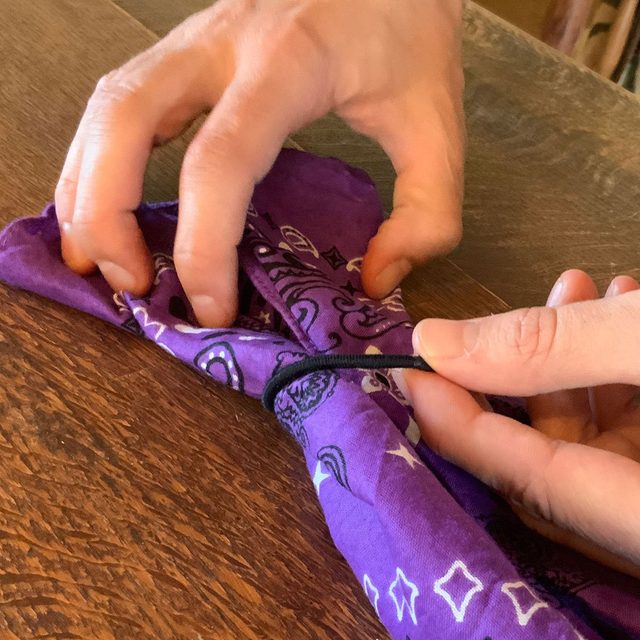
Slip a hair binder around one end of your folded bandana and slide it about one-third of the way down the fabric. Repeat this with another hair binder on the other end.
Step four
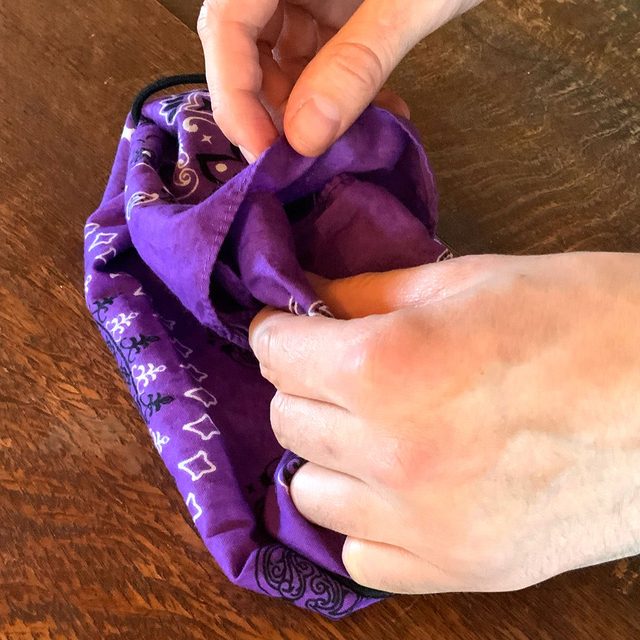
Fold the ends toward each other and tuck one into the other. It doesn’t matter which end goes into which.
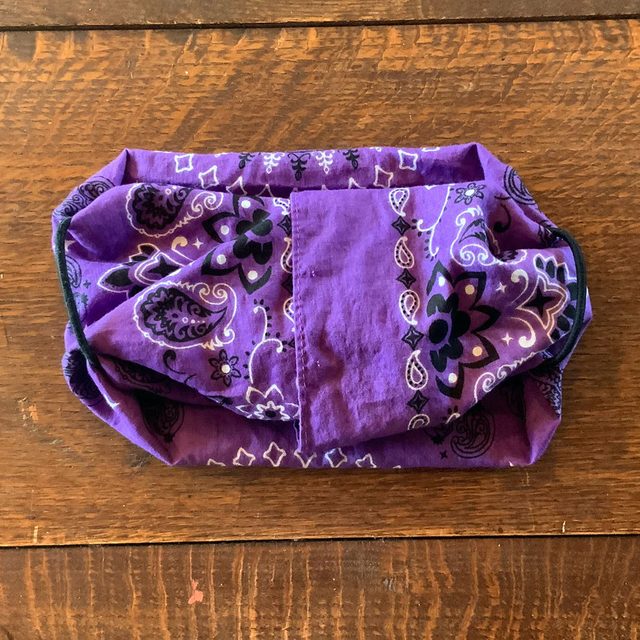
Finished mask:
How to make a mask out of a pillowcase
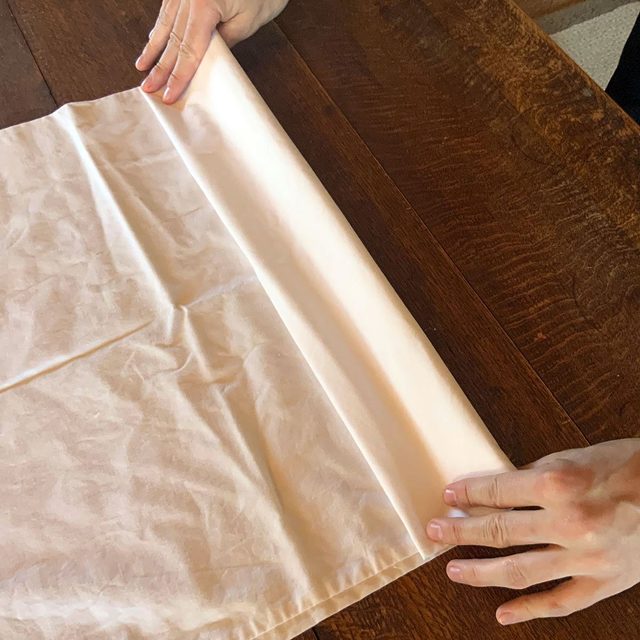
Step one
Lay the pillowcase out so that the end opposite the opening faces you. Fold the pillowcase in about four inches, and then repeat this fold until the pillowcase is essentially one 4-inch strip of fabric.
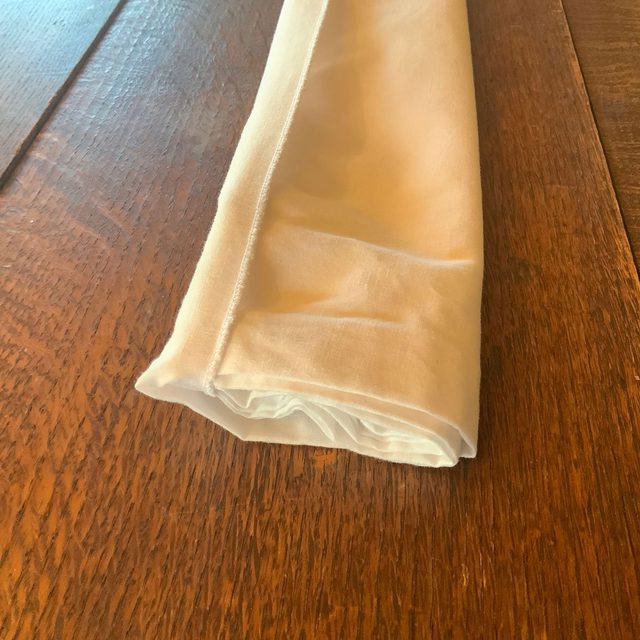
Step two
Tuck the folded edge of the fabric into the pillowcase’s opening.

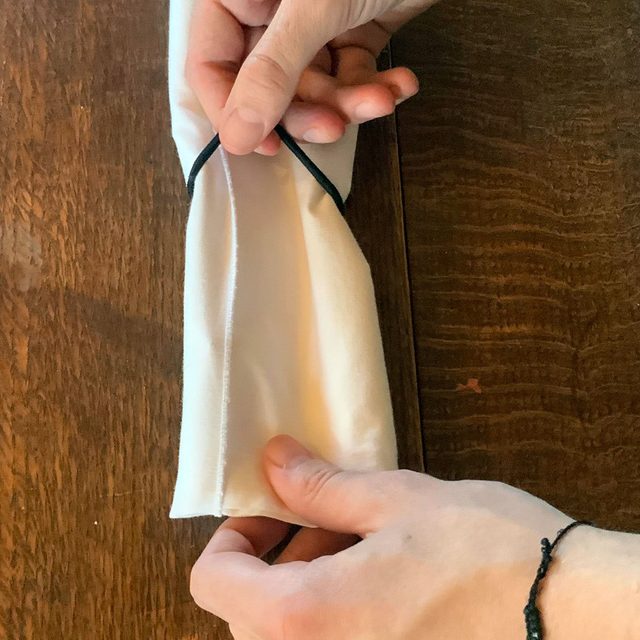
Step three
Slip a hair binder around one end of the pillowcase and slide it about one-third of the way down the fabric. Repeat this with another hair binder on the other end.
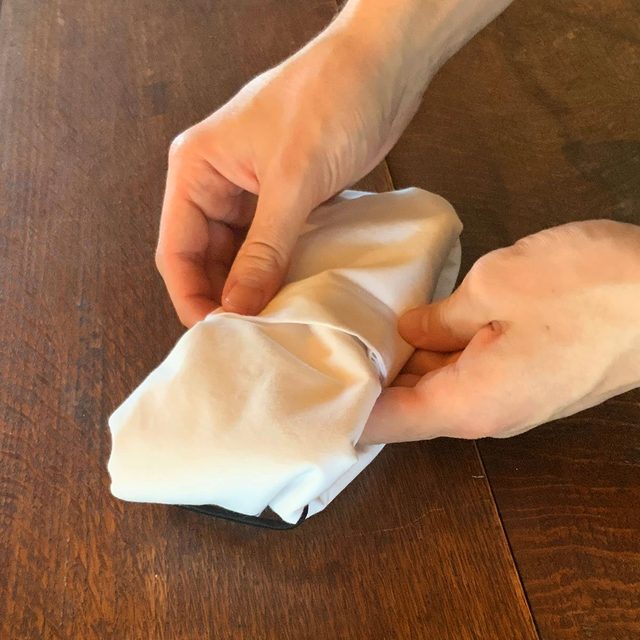
Step four
Fold the ends toward each other and tuck one into the other. Like the bandana, it doesn’t matter which end goes into which.
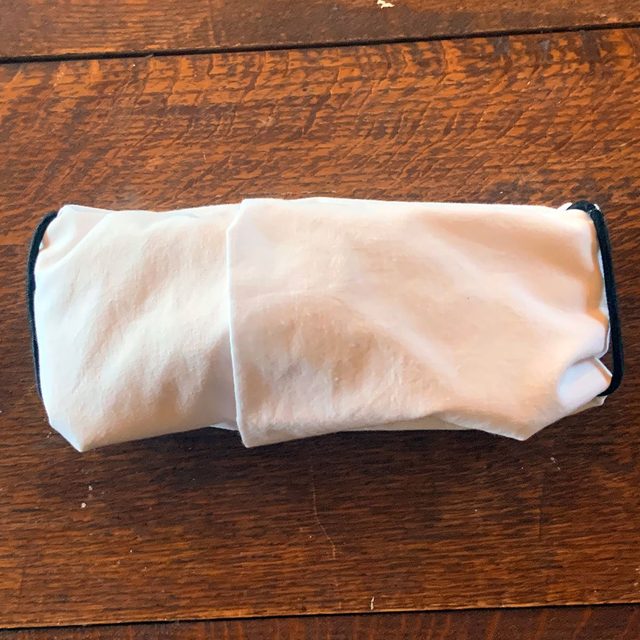
Finished mask:
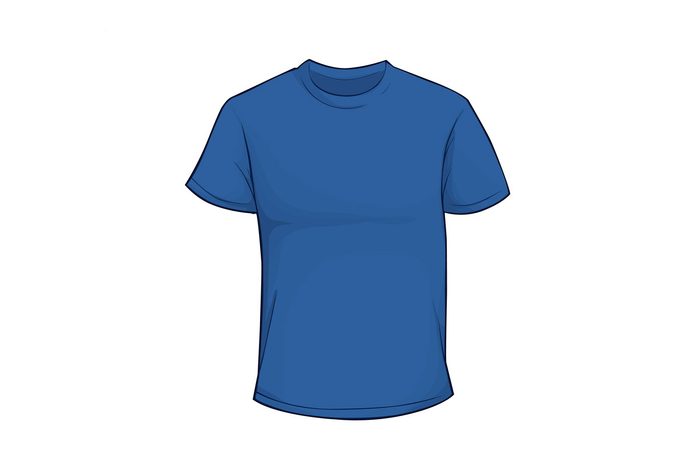
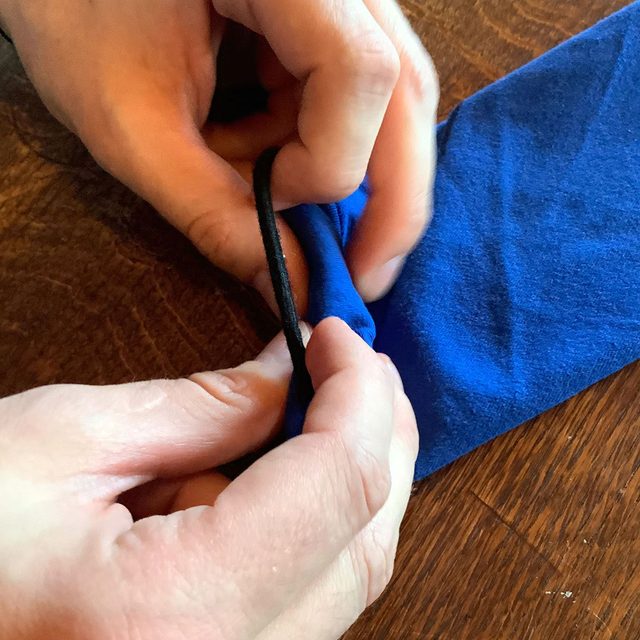
How to make a mask out of a t-shirt
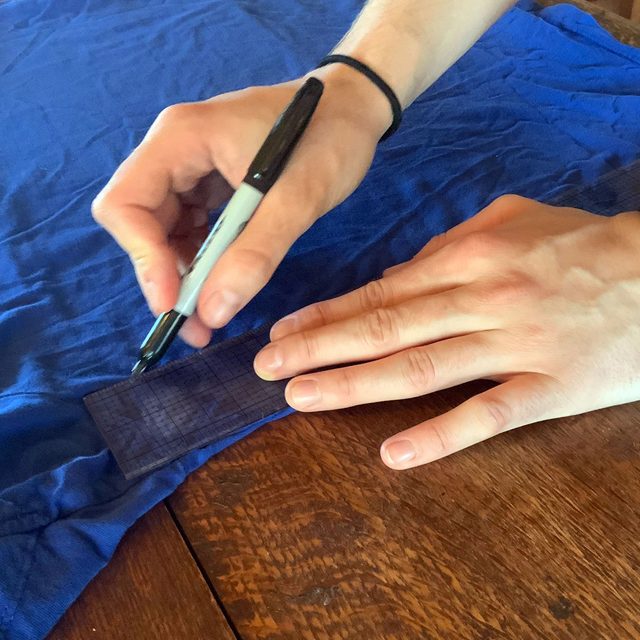
Step one
Mark out a square on the back of an old t-shirt. The square can be anywhere from 11 to 15 inches depending on how large you need the mask to be.
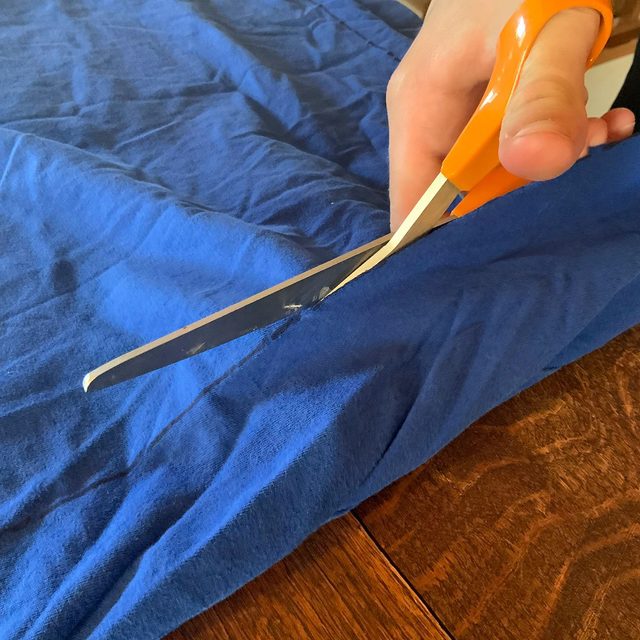
Step two
Use scissors to cut the square out of the t-shirt. If you want enough material to make two masks, cut through both sides of the shirt at the same time.
Step three
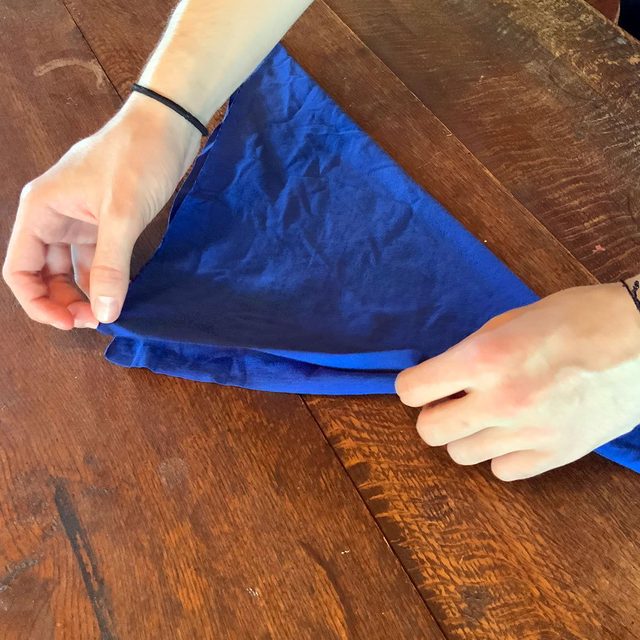
Fold the square in half so it makes a triangle.
Step four
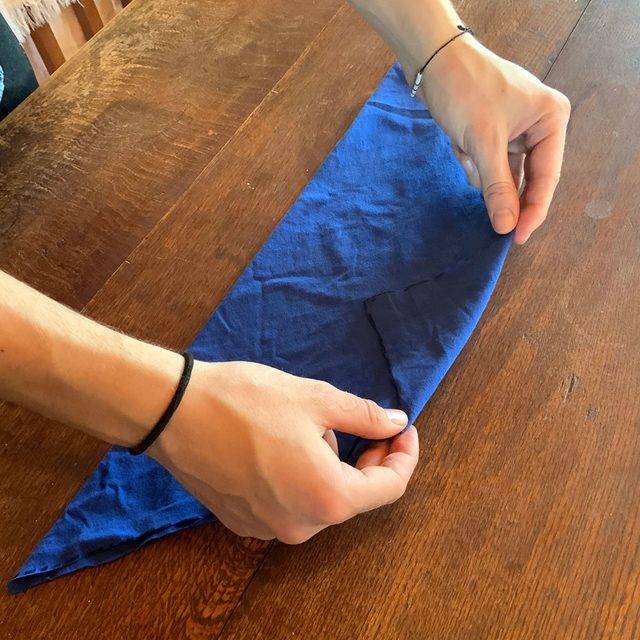
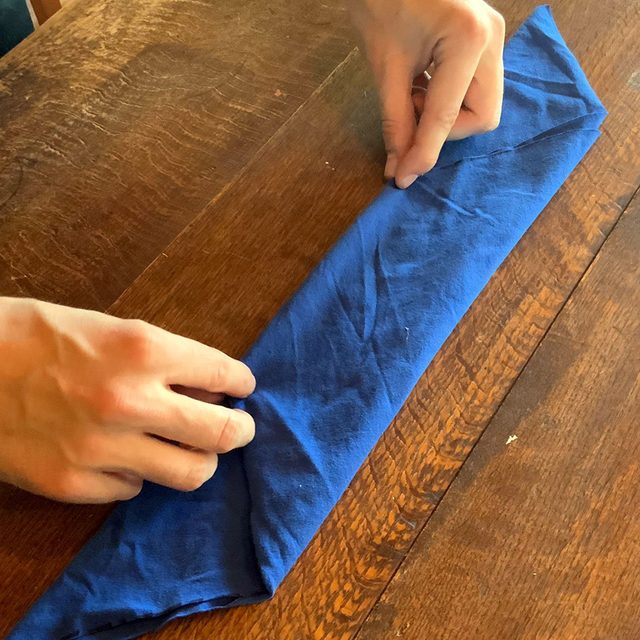
Fold that triangle into thirds.
Step five
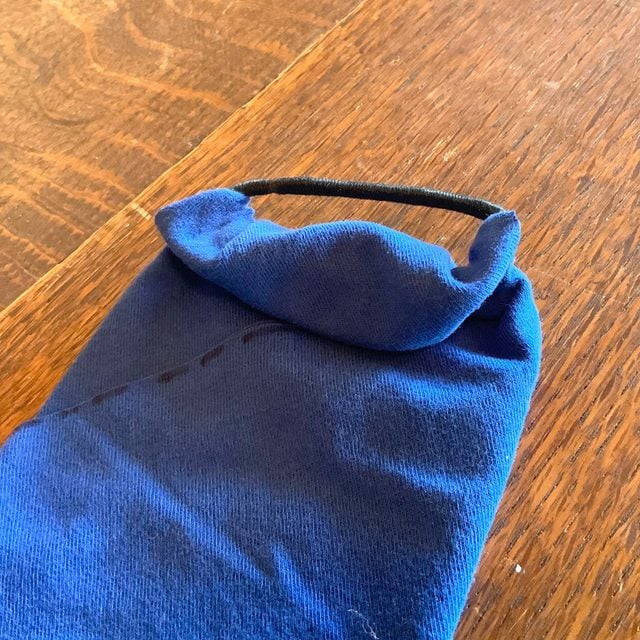
Roll the end of the t-shirt material around a hair tie. Reposition the hair tie as you’re rolling so it’s sticking up and doesn’t end up on the wrong side of the mask. Repeat this rolling process on the other side.
Finished mask:

Next, find out what doctor’s want you to know about face masks.
Newsletter Unit