Nail Art How-To: The Heart Shaped Mani
 Updated: Feb. 07, 2017
Follow these five easy steps for a DIY heart shaped mani.
Madeline Poole, Sally Hansen Global Color Ambassador, is well-known on Instagram for her artsy and fashion-inspired nail art. Here, she guides you step-by-step through a Valentine’s Day heart shaped mani. Enjoy!

Step 1: Apply two coats of Sally Hansen Miracle Gel in Pinky Promise.
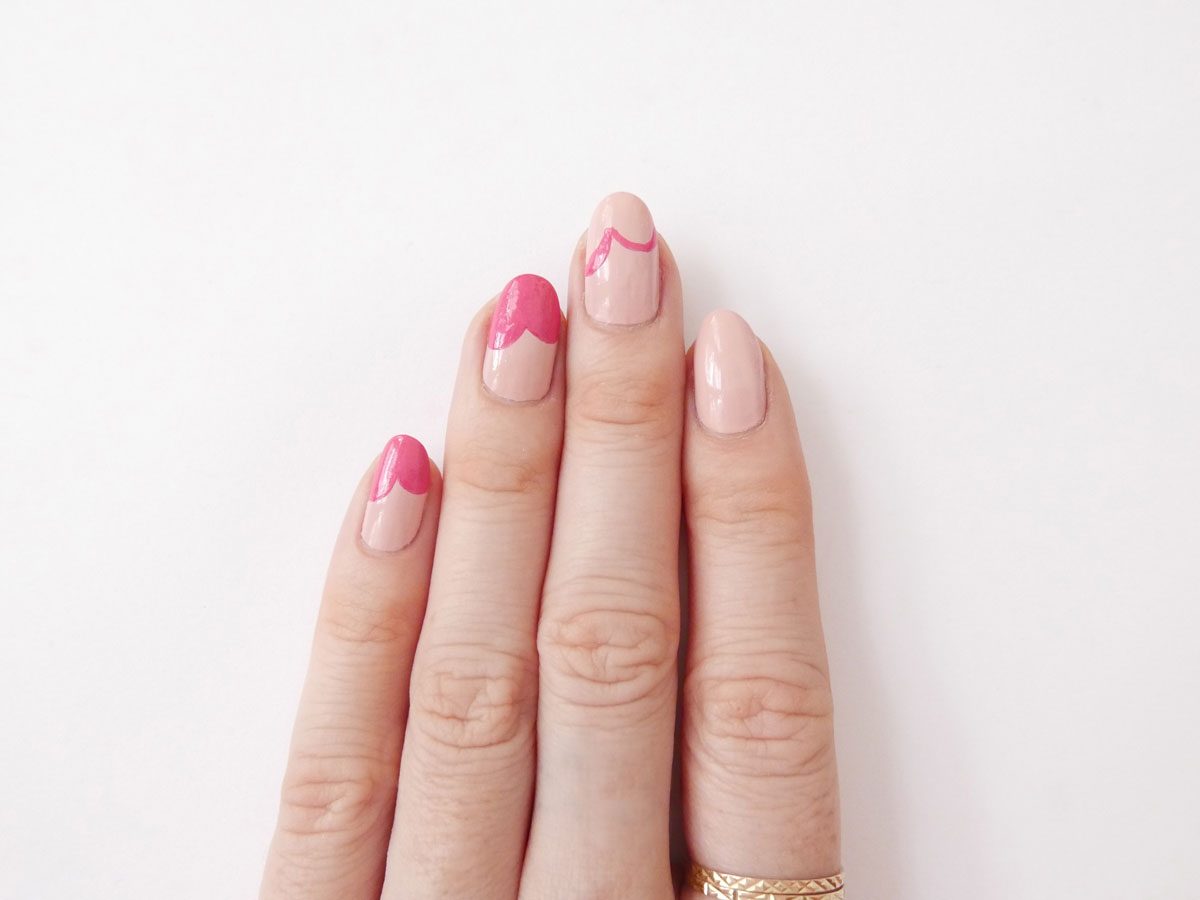
Step 2: Using a striping brush, paint the arches of a heart on each nail using Sally Hansen Miracle Gel in Pink Up.
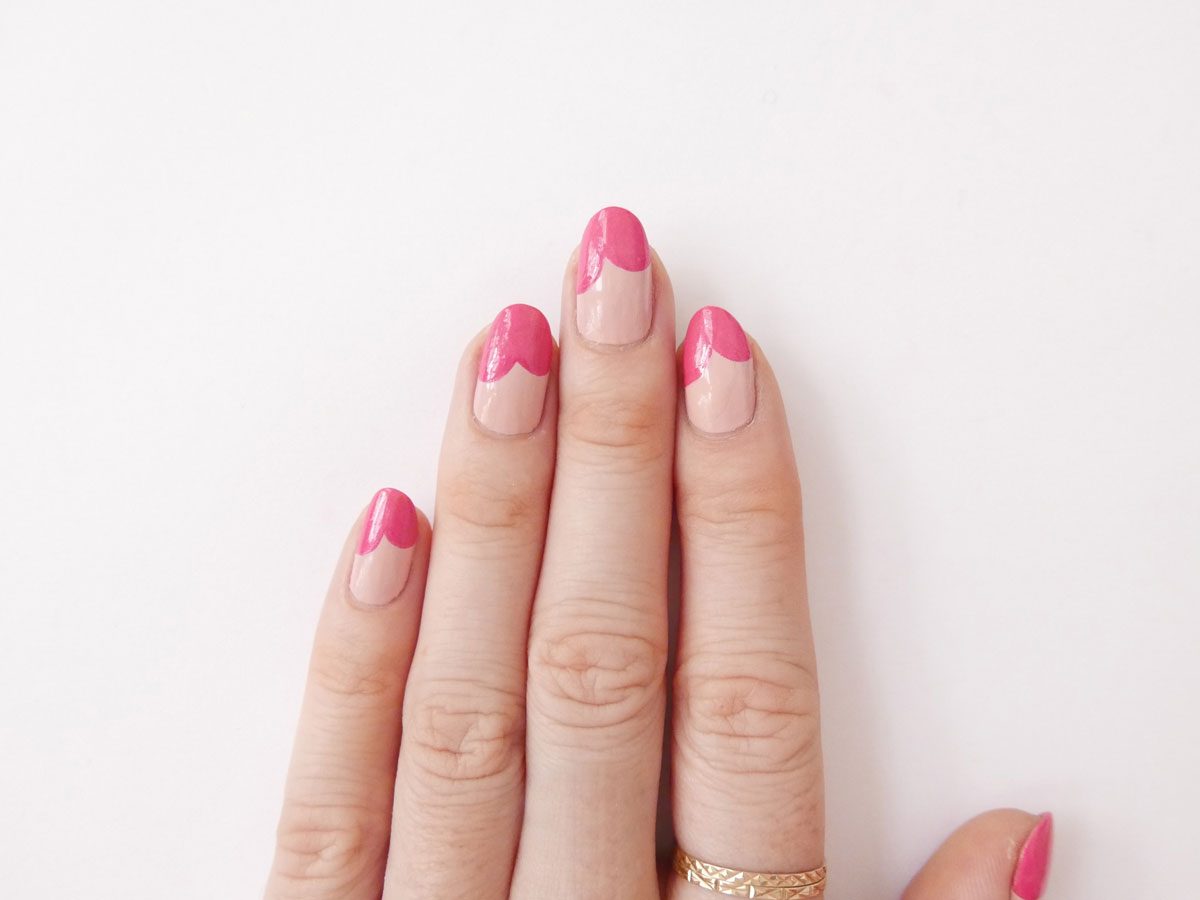
Step 3: Fill in the shape at the tip of the nail with Sally Hansen Miracle Gel in Pink Up.

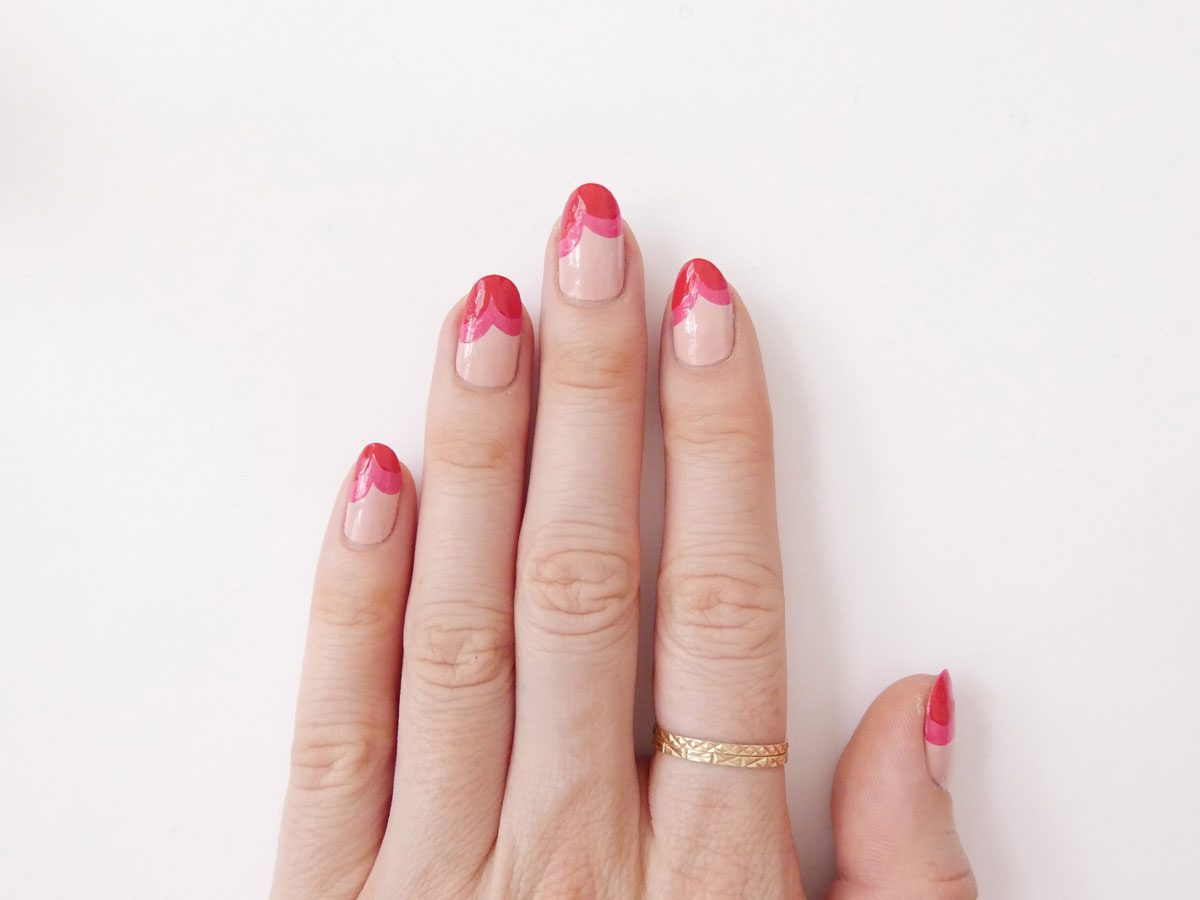
Step 4: Repeat this process using Sally Hansen Miracle Gel in Pink Tank a few millimeters below the first heart shape.
Step 5: Apply one coat of Sally Hansen Miracle Gel Top Coat to all nails.
Related:
• 9 Subtle Things Your Nail Polish Colour Reveals About You
• DIY Nail Art: 7 Trends to Try
• What the Colour of Your Nails Says About Your Health