How to Contour for Your Face Shape
 Updated: Jul. 16, 2019
Learn how to contour for your face shape, thanks to these tips from Make Up for Ever’s Trinidad Rivas
Makeup contouring may sound daunting, but it’s a game anyone can play. The trick of course, is having the right tools and products to bring out your best features. We asked director of education for Make Up For Ever, Trinidad Rivas, for tips on how to contour for your face shape.
Step #1 Know your face shape
This is instrumental when it comes to contouring like a pro. There are six principle face shapes, categorized into three sizes. Small faces are considered round and square, medium faces are oval and inverted triangle (also known as heart-shaped) and the two larger face shapes are long and pyramid. Not sure what your shape is? While standing in front of a mirror, take a tube of old lipstick or gloss and trace your face shape on to the mirror. Step back and take a look at the outline and choose the shape it most closely resembles.
Step #2 Pick what to sculpt or accentuate
The placement of product varies on the shape of the face you are looking to sculpt. The “ultimate” face shape is the oval face since it’s the easiest for the eyes to read. With that being said, it’s common for people to try and mimic the oval face by positioning the highlight and shadows in key places. Shadows should be placed where we want to recede: under cheekbones, temples, and down the sides of the nose to slim. Then we want to highlight the places to stand out: cupid’s bow (above the upper lip), top of the cheekbones, under the brows and on the bridge of the nose. Don’t forget to bring your face to life by adding a touch of colour with blush. Think of all of this as a sandwich effect: Highlight above, shadow below and blush in the middle as the blending agent.
Step #3 Don’t underestimate the tools and products you use
Using the proper product to fit your skill set is important in order to achieve the effect you are trying to create. You always want your end result to be complimentary to your features and make them stand out (in a good way!) so working with products that can be easily blended and are consumer-friendly is instrumental.
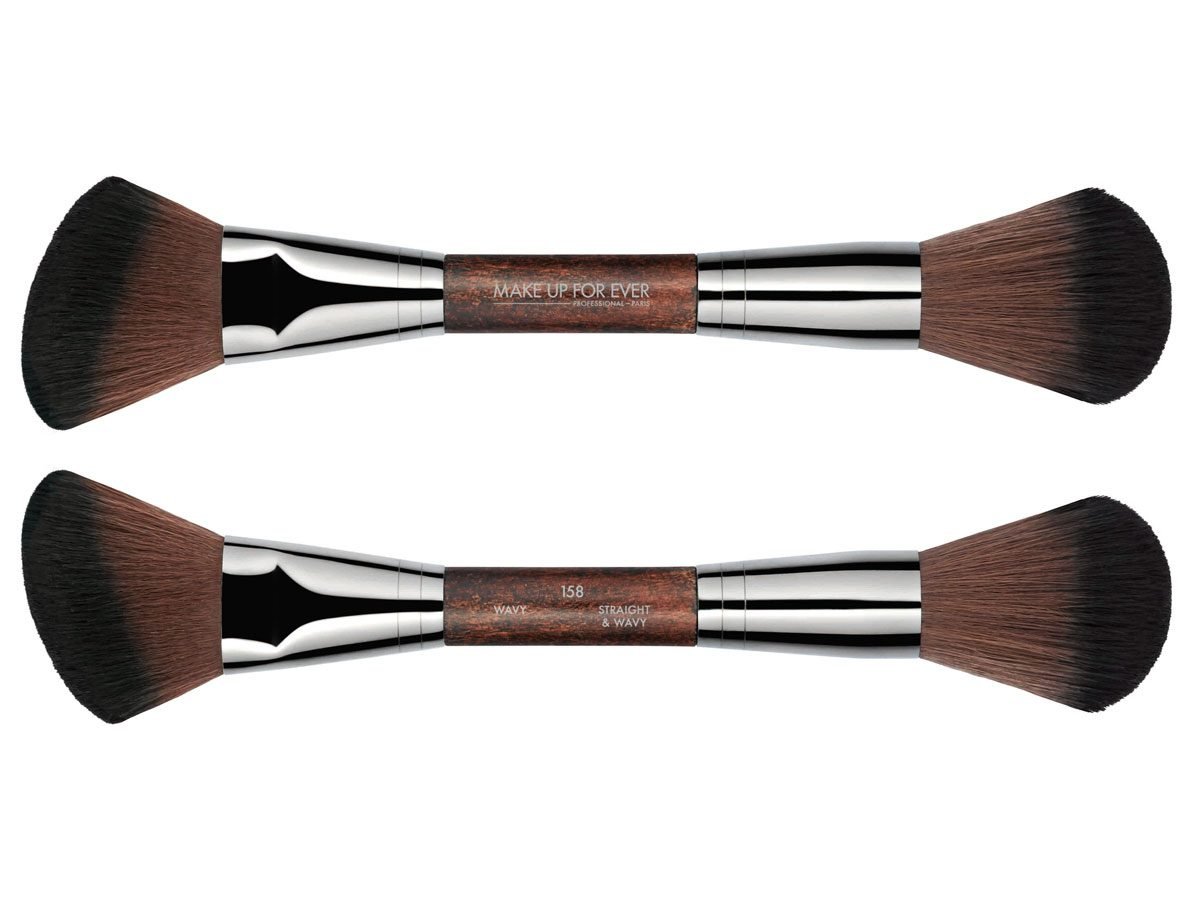
My product pick for a brush is the Make Up For Ever Brush #158, $61, which is a double-ended sculpting-blush brush. It’s great because the fluffier, more rounded side can be used to apply highlighting powders, while the angled side is perfect for applying the darker colours to shade. When applying contour, it’s always key to use an angled brush in order to achieve a precise shadow application for clear definition. The fluffier side of the brush can also be used to smooth out any harsh lines to create a natural looking finish.
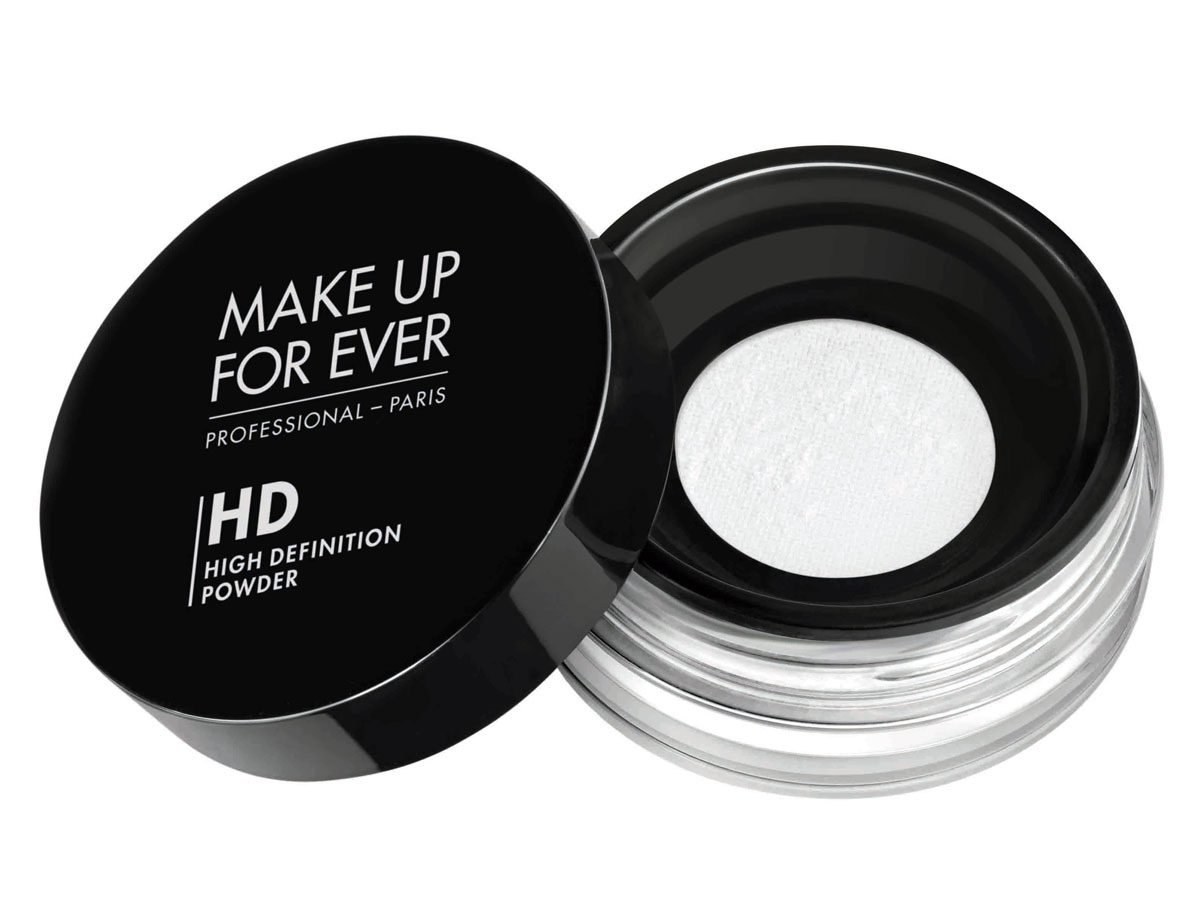
Step #4 Set for your selfie
Setting creamier products with a powder is always key to keep product placement intact. The Make Up For Ever HD Microfinish Powder, $39, does the trick while adding a smoothing effect.